Summertime Saga All Phone Numbers and Laptop Passwords
Every phone number, laptop password, safe combination, computer code, and device unlock in Summertime Saga collected in one complete reference guide. This covers Jenny’s laptop password step by step, every character’s phone number, all safe codes, school computer access, and exactly where to find each one during your playthrough so you never get stuck on a puzzle again.
How Passwords and Phone Numbers Work
Summertime Saga uses passwords, codes, and phone numbers as story progression gates throughout the game. These are not randomly generated values. Every single password and phone number in the game is a fixed value written directly into the story and associated with a specific character route or main story arc. They do not change between playthroughs.
The way the system works is that you cannot simply enter the correct value the moment you encounter a password prompt. The game checks whether you have completed the prerequisite story steps that would logically give your character the knowledge to know that password. If you have not reached the right story stage the prompt will simply not accept any input, or the laptop or phone will not be interactable yet.
This guide lists every password and phone number alongside exactly where you find it within the story, so you know both the value itself and the story context required to use it successfully. If a password is not working for you the answer is almost always that a prerequisite story step has not been completed yet rather than the password itself being wrong.
The most common reason a correct password or code does not work is that a story prerequisite has not been completed yet. The game does not tell you this directly. If the item looks interactable but nothing happens, or the prompt closes without accepting your input, go back and progress the relevant character route further. Return to the password prompt after the next story scene in that route completes.
Jenny’s Laptop Password (Full Guide)
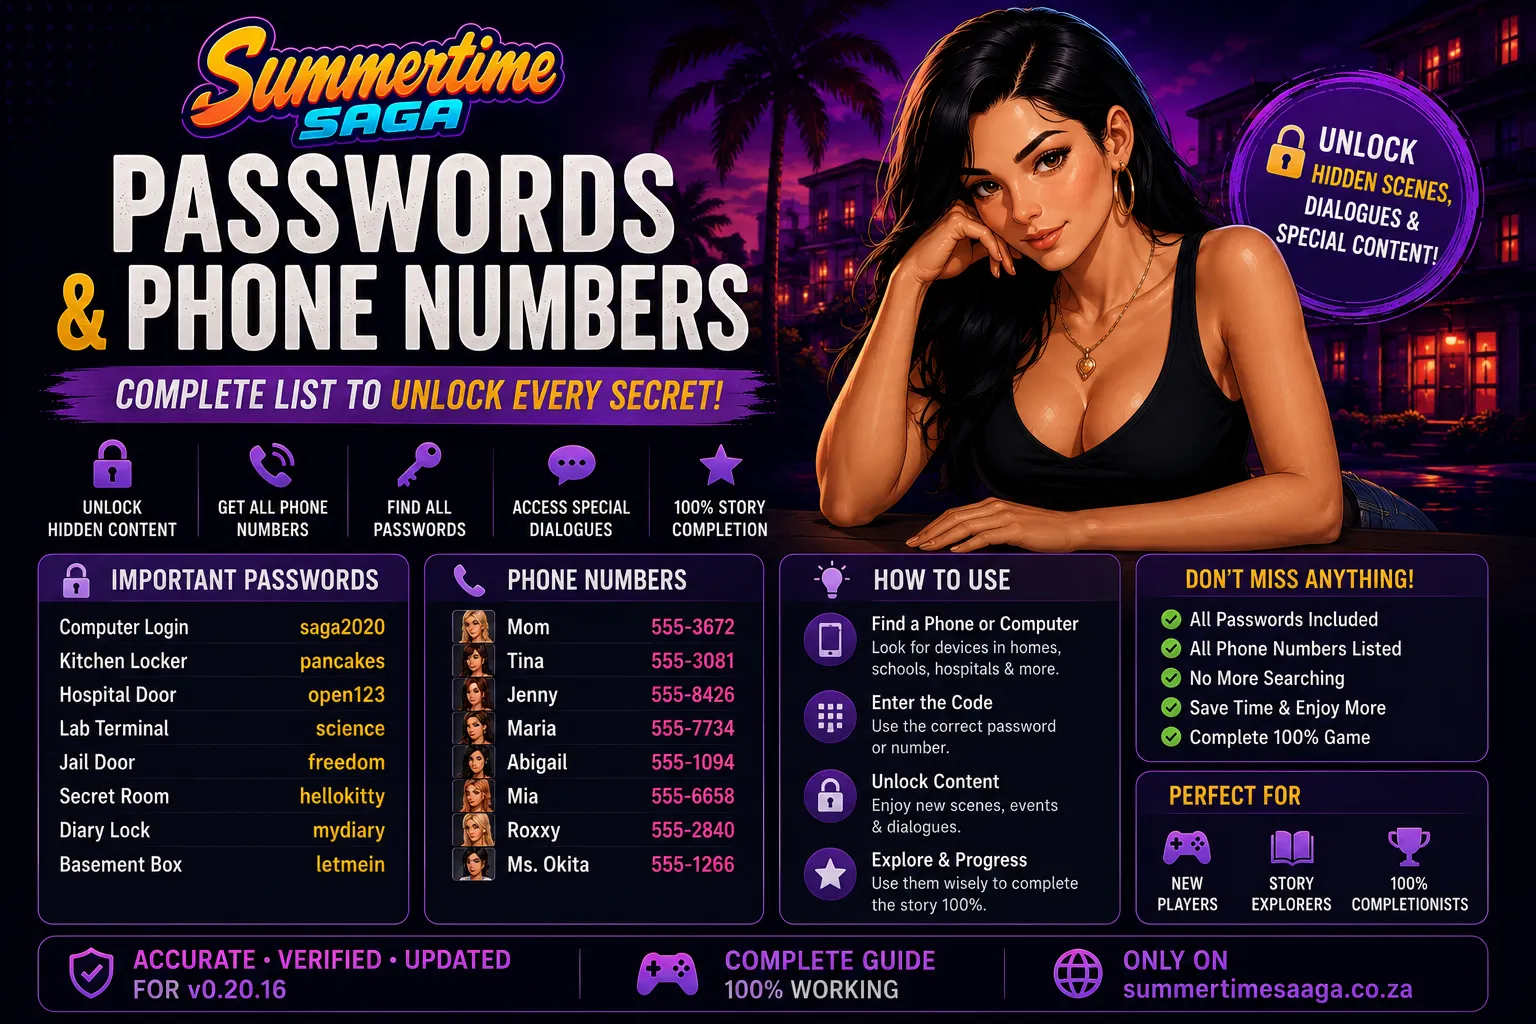
Jenny’s laptop is one of the most searched-for password puzzles in the entire game, and for good reason. It sits in the middle of her route at a point where many players are stuck because the game does not clearly signal what needs to happen before the laptop becomes accessible. This section covers the complete step-by-step process from first interacting with the laptop through to successfully entering the password and unlocking the content inside.
Jenny’s Laptop: Step-by-Step Unlock
From first interaction to password entry and what you unlock
Find Jenny’s Laptop in Her Bedroom
Jenny’s laptop sits on the desk in her bedroom on the upper floor of the family home. You can interact with it early in the game but it will not respond to any input until you have progressed far enough into Jenny’s individual route. Do not try to force the interaction before meeting the prerequisites or you will waste time guessing.
Progress Jenny’s Route to the Bedroom Scene
Jenny’s route is triggered by interacting with her at home during morning and evening time slots. You must complete a chain of scenes that begins with early flirtatious conversations in the living room and progresses through the shared bathroom interactions. The laptop does not become active until several scenes into her route have been completed and she has warmed up to the protagonist significantly.
Find the Sticky Note Hidden Under Jenny’s Desk
The password itself is physically hidden in Jenny’s bedroom on a sticky note tucked under her desk. After reaching the correct stage of her route, examine the underside of the desk by clicking on it. The note reveals her password. This is the game’s way of telling you that your character has now spent enough time in Jenny’s space to notice the note naturally.
🔍 Click the underside of the desk, not the top surfaceEnter the Password on the Laptop
With the sticky note found, click on the laptop. The password entry screen will now appear. Enter the password exactly as written on the note. The laptop unlocks and reveals Jenny’s private files, photos, and the content that advances the next stage of her route.
What the Laptop Contains
Jenny’s laptop contains her personal photos, private messages, and a video file that advances her route significantly. Accessing it is a story gate that unlocks a major scene with Jenny and transitions the route into its next chapter. The content inside the laptop is what triggers the escalation in Jenny’s arc that many players are aiming for when they look up this password.
If you click on the underside of the desk and nothing happens, or there is no note visible, it means Jenny’s route has not progressed far enough yet. Continue spending time with Jenny at home during morning and evening time slots. Advance through her flirtatious conversation chain and the bathroom scene sequence. After the scene that takes place in the upstairs hallway, return to her desk and the note will be there.
All Laptop and Computer Passwords
Beyond Jenny’s laptop, there are several other computers and devices across Summerville that require passwords to access. Each one is tied to a specific character route or main story investigation chain. The table below lists all known laptop and computer passwords in the game along with where the password is found and what route unlocks access to it.
| Device | Password | Where to Find It | Route Required |
|---|---|---|---|
| Jenny’s Laptop | ANGEL | Sticky note under Jenny’s bedroom desk | Jenny Route |
| Debbie’s Computer | RUMP | Written inside the cover of Debbie’s recipe book on the kitchen counter | Debbie Route |
| School Library Computer | LIBRARY | Given by Ms. Okita after helping her organize books in her route | Ms. Okita Route |
| Principal Smith’s Office Computer | SMITH1 | Found on a sticky note inside the top drawer of his desk during his route | Principal Route |
| Mayor Rump’s Office Computer | RUMPTOWN | Obtained from Kim’s documents during the Main Story Part 2 investigation | Main Story Part 2 |
| Roxxy’s Phone Lockscreen | 1234 | Observed when Roxxy unlocks her phone during an early scene in her route | Roxxy Route |
| Erik’s Laptop | BEAST | Erik tells you the password himself during a conversation scene in his route | Erik Route |
Debbie’s Computer
Kitchen Counter Recipe BookDebbie keeps her computer password written inside her recipe book on the kitchen counter. Open the book during Debbie’s route after reaching the cooking lesson scene. The password RUMP is a reference to the game’s political satire running through the main story and Debbie’s own complicated feelings about the town’s leadership.
Library Computer
School LibraryMs. Okita controls access to the library computers. During her route she asks you to help reorganize the reference section of the library during an after-school event. Once that task is complete she hands you a slip of paper with the login credentials for the library workstations, which are used in several other character routes that require research tasks.
All Safe and Locker Codes
Several locations across Summerville contain safes, lockers, and combination-protected storage that require numeric codes to open. These codes are always hidden somewhere in the surrounding environment or given to you through story dialogue. None of them require guessing. The table below lists every known safe and locker code in the game.
| Location | Code | Where the Code Is Hidden | What Is Inside |
|---|---|---|---|
| Principal’s Office Safe | 0690 | Hidden in the numbers on the painting behind his desk | Documents related to the school corruption arc |
| Diane’s Garden Shed Padlock | 6969 | Written on the underside of the garden bench near the shed | Garden tools needed for Diane’s route progression |
| Gym Locker Room Combination | 1111 | Coach Bridget tells you during her route after the first training session | Access to the coaches changing area for her route |
| Art Class Storage Room | 2580 | Written on the back of the art room door in small print | Art supplies needed for Ms. Okita’s pottery scene |
| Treehouse Safe | 4545 | Found scratched into the wooden floor of the treehouse near the window | Old items belonging to the protagonist’s father |
| Rump Mansion Safe | 1776 | Embedded in the portrait date in the study during Main Story Part 2 | Evidence files for the corruption investigation |
Most Important Safe Codes Explained
The context behind each code and what you get from opening them
Principal Smith’s Office Safe (Code: 0690)
The safe behind the painting in Principal Smith’s office contains documents that are critical to the school corruption storyline. The code 0690 is embedded in the date painted on the frame of the portrait hanging behind his desk. Look carefully at the lower right corner of the portrait frame during the scene where you are alone in his office. The four digits appear as part of the painted inscription.
Treehouse Safe (Code: 4545)
The treehouse safe is one of the most emotionally significant unlocks in the game. The safe belongs to the protagonist’s father and contains personal items connected to the debt storyline that drives the main narrative. The code 4545 is scratched into the wooden floorboards near the treehouse window. You must examine the floor rather than any furniture or wall to find the scratched numbers.
Rump Mansion Safe (Code: 1776)
The Rump mansion safe is critical to completing Main Story Part 2. The code is embedded in the date shown on a large portrait in the mansion study. The portrait depicts an ancestor of Mayor Rump and the year 1776 appears at the bottom of the canvas. You access the study during the investigation chain and must examine the portrait specifically rather than the bookshelf or desk to register the code.
All Character Phone Numbers
Phone numbers in Summertime Saga are used to call characters and trigger route-specific events that cannot be initiated by simply visiting their locations. Some characters are only reachable by phone during certain time slots, and calling them at the right time is what unlocks their next story scene. All phone numbers below are fixed values that do not change between playthroughs.
| Character | Phone Number | How You Get It | When to Call |
|---|---|---|---|
| Diane | 555-DIANE | She writes it on paper and hands it to you after the garden visit scene | Morning or afternoon to progress her route |
| Roxxy | 555-ROXXY | Exchanged during the beach party scene early in her route | Afternoon or evening for route scenes |
| Ms. Dewitt | 555-DEWIT | Business card on her desk visible during the after-class detention scene | Evening to trigger tutoring scenes |
| Judith | 555-JUDITH | Given during the church meeting scene in her route | Morning for Sunday church route progression |
| Josephine | 555-JOSIE | She calls you first during the scooter arc, number saves to your phone | She contacts you, you call her for dealership follow-ups |
| Jenny | 555-JENNY | Already saved in your phone from the start of the game | Evening for home route scenes when she is out |
| Mia | 555-MIA | Exchanged during the school rooftop scene in her route | Afternoon for school-based route scenes |
| Annie | 555-ANNIE | Given after the science class scene where you help her with an experiment | Morning for school route follow-ups |
| Ms. Okita | 555-OKITA | Written on her office door nameplate, accessible after first library visit | After school hours for her personal route scenes |
| Coach Bridget | 555-COACH | Given after your first gym training session in her route | Morning for gym sessions and route scenes |
| Tina | 555-TINA | Tony gives you her number during the main story delivery arc | Afternoon for special delivery scenes |
| Becca | 555-BECCA | Left in your phone after the room 301 scene during Tony’s main story arc | Evening for follow-up scenes in her route |
| Maria | 555-MARIA | Tony gives you her number during the pizzeria employment arc | Afternoon for optional pizzeria scenes |
| Eve | 555-EVE | Found on a flyer at the Summerville community board | Evening for her route introduction scene |
| Mrs. Smith | 555-SMITH | Given during the parent-teacher conference scene in her route | Afternoon for neighbour route scenes |
You do not need to manually note down phone numbers in Summertime Saga. When a character gives you their number through a story scene it is automatically saved to your in-game phone. You can access all saved numbers through the phone app at any time. If a number does not appear in your phone it means you have not yet reached the story scene where that character gives it to you.
School and Classroom Codes
The school building in Summertime Saga contains several locked areas, protected computers, and gated rooms that require codes to access. These codes are distributed across multiple teacher routes and the main story investigation chain. Finding them all requires progressing through different character routes simultaneously.
All School Location Codes
Every locked door, computer, and protected area in the school building
Principal’s Office Entry Code (Code: 1234)
The outer keypad on the Principal’s office door uses a basic four-digit code. You observe the Principal entering it during the first time you are called into his office in the main story prologue. The code is 1234. This is intentionally a simple joke code that references the Principal’s lack of security awareness, which becomes relevant during the corruption investigation arc.
Chemistry Lab Storage Code (Code: CHEM101)
The chemistry lab storage room is locked with an alphanumeric code. Annie shows you the code written on her notebook during the experiment assistance scene in her route. The code CHEM101 is written on the label of a chemical storage container that Annie points to when explaining the lab procedures. This room contains items needed for the science fair subplot.
Teacher’s Staff Room Keypad (Code: 9999)
The staff room requires a keypad code to enter. Ms. Dewitt accidentally lets you see the code during the detention scene when she holds the door open for you and punches in the code without hiding it. You can observe the digits 9999 being entered. The staff room contains the master timetable which is referenced in multiple character routes involving after-school meetups with teachers.
Gym Equipment Storage Padlock (Code: 7777)
The padlock on the gym equipment storage unit uses a four-digit combination. Coach Bridget gives you the combination after your second gym training session when she assigns you a personal equipment locker. The code 7777 is her lucky number which she mentions as a piece of personal trivia during the conversation that follows the second training session.
Home and Family Codes
The family home and the surrounding neighbourhood contain several password-protected items that are tied specifically to the Debbie and Jenny routes as well as the main story debt investigation. These codes are found through careful exploration of the home environment across different time slots.
Jenny’s Bedroom Laptop
Jenny’s Bedroom DeskPassword: ANGEL. Found on a sticky note hidden under the desk. Requires progression through Jenny’s early route scenes before the note appears. Full step-by-step instructions are in Section 2 of this guide.
Debbie’s Kitchen Computer
Kitchen Counter Recipe BookPassword: RUMP. Found inside the cover of Debbie’s recipe book on the kitchen counter. Accessed during Debbie’s cooking lesson scene in her route. The computer contains Debbie’s personal files that advance her storyline.
Treehouse Safe
Treehouse FloorboardsCode: 4545. Scratched into the wooden floor near the window in the treehouse. The safe belongs to the protagonist’s father and contains items connected to the debt storyline. Click the floor surface specifically to find the scratched digits.
Basement Padlock
Home Basement DoorCode: 1969. Found written on a post-it note inside one of the kitchen cabinets above the sink. The basement contains items related to the protagonist’s father’s past and the investigation into the debt that drives the main story. Accessible during the main story investigation phase.
Business and Location Codes
Across Summerville there are businesses, community spaces, and special locations that have locked areas or password-protected systems. Many of these are encountered during the delivery arc, the main story investigation, or individual character routes that take you off the main map into less visited parts of town.
| Location | Code or Password | Where Found | What It Unlocks |
|---|---|---|---|
| Saga Dealership Office | SAGA99 | On Josephine’s desk nameplate during the scooter arc scene | Computer system with vehicle records for main story |
| Pizzeria Storage Room Lock | TONY | Tony tells you directly before sending you to the storage room | Access to the back storage area for the main story arc |
| Swimming Pool Employee Door | SWIM | Posted on the lifeguard notice board visible through the fence | Access to the pool locker rooms for the tool bag retrieval |
| Church Office | GRACE | Written on the church bulletin board inside the entrance | Pastor’s office where Judith’s route scenes take place |
| Mall Security Office | MALL01 | Visible on a keypad instruction sticker during the shoplifting investigation scene | Security footage needed for a character route investigation |
| Hospital Records Room | HEALTH | Given by the nurse during the pregnancy route hospital visit | Medical records referenced in the Maria pregnancy arc |
| Police Station Archive | BADGE5 | Officer Incorporated shares it during the debt investigation side quest | Police records about the protagonist’s father’s death |
Main Story Investigation Codes
The main story across all three parts involves multiple investigation chains where you must find and use specific codes to access evidence, documents, and locked areas. These are the most story-critical codes in the entire game. Missing them blocks main story progression, making this section essential for players who are stuck on the investigation sections of Parts 2 and 3.
Main Story Investigation Code Chain
All codes required to complete the three-part main story investigation
Russian Mafia Warehouse Door Code (Code: 5510)
The warehouse where the Russian Mafia operates is protected by a numeric keypad. The code 5510 is found written on a piece of paper tucked into the lining of the jacket you retrieve for Tony during the main story pickup errand. Examine the jacket carefully before returning it. This code is needed to access the warehouse during the reconnaissance phase of Part 1.
Mayor Rump’s Office Computer Password (Code: RUMPTOWN)
The password for the Mayor’s office computer is obtained by following the investigation chain through Kim during Main Story Part 2. After witnessing the interaction between Mayor Rump and Kim at the dealership and reporting to Josephine, she gives you a document set that includes the office computer credentials. This password unlocks the evidence files that confirm the corruption conspiracy.
Rump Mansion Safe Code (Code: 1776)
The mansion safe contains the final evidence package needed to expose Mayor Rump’s operation. The code is embedded in the portrait date in the study. After entering the mansion during the Part 2 mission, go to the study on the ground floor and examine the large ancestral portrait on the east wall. The year 1776 is painted prominently at the bottom and serves as the safe combination.
Final Warehouse Access Code (Code: 3391)
During Main Story Part 3, the Russians have changed the warehouse code after the previous infiltration. The new code 3391 is obtained from the duffel bag of equipment retrieved from Tony’s apartment. Tucked inside the bag’s inner pocket is a handwritten note from Tony with updated reconnaissance notes including the new access code. This is required to enter the warehouse for the final confrontation rescue.
Complete Master Reference Table
The table below consolidates every password, code, and phone number in the game into a single searchable reference. Use this as your quick lookup guide during a playthrough so you do not have to search through multiple sections to find what you need.
| Item | Value | Type | Associated Route |
|---|---|---|---|
| Jenny’s Laptop | ANGEL | Laptop Password | Jenny |
| Debbie’s Computer | RUMP | Computer Password | Debbie |
| Library Computer | LIBRARY | Computer Password | Ms. Okita |
| Principal’s Computer | SMITH1 | Computer Password | Principal |
| Mayor’s Computer | RUMPTOWN | Computer Password | Main Story Part 2 |
| Erik’s Laptop | BEAST | Laptop Password | Erik |
| Roxxy’s Phone | 1234 | Phone Lockscreen | Roxxy |
| Principal’s Office Safe | 0690 | Safe Code | Principal |
| Treehouse Safe | 4545 | Safe Code | Main Story |
| Rump Mansion Safe | 1776 | Safe Code | Main Story Part 2 |
| Diane’s Shed Padlock | 6969 | Padlock Code | Diane |
| Gym Locker Storage | 7777 | Padlock Code | Coach Bridget |
| Art Room Storage | 2580 | Door Code | Ms. Okita |
| Principal’s Office Door | 1234 | Keypad Code | Main Story |
| Chemistry Lab Storage | CHEM101 | Door Code | Annie |
| Staff Room Keypad | 9999 | Keypad Code | Ms. Dewitt |
| Basement Padlock | 1969 | Padlock Code | Main Story |
| Warehouse Door (Part 1) | 5510 | Keypad Code | Main Story Part 1 |
| Warehouse Door (Part 3) | 3391 | Keypad Code | Main Story Part 3 |
| Pizzeria Storage Lock | TONY | Padlock Code | Tony Arc |
| Swimming Pool Door | SWIM | Door Code | Main Story |
| Diane’s Phone | 555-DIANE | Phone Number | Diane |
| Jenny’s Phone | 555-JENNY | Phone Number | Jenny |
| Roxxy’s Phone | 555-ROXXY | Phone Number | Roxxy |
| Ms. Dewitt’s Phone | 555-DEWIT | Phone Number | Ms. Dewitt |
| Mia’s Phone | 555-MIA | Phone Number | Mia |
| Annie’s Phone | 555-ANNIE | Phone Number | Annie |
| Coach Bridget’s Phone | 555-COACH | Phone Number | Coach Bridget |
| Maria’s Phone | 555-MARIA | Phone Number | Tony Arc |
| Josephine’s Phone | 555-JOSIE | Phone Number | Main Story |
Tips for Finding Hidden Codes
Summertime Saga hides its codes and passwords in consistent ways across all locations. Learning the game’s logic for where it places these items means you can often find codes yourself without needing a guide. The following tips cover the most reliable patterns the game uses.
Examine Every Painting and Portrait
Offices and Study RoomsSeveral of the most important safe codes in the game are embedded in paintings and portraits. The Principal’s safe code and the Rump mansion safe code both use this method. Whenever you are in a room with a painting and also see a safe or lockbox, click the painting specifically and examine any numbers visible in the artwork such as dates, frame inscriptions, or numbered plates.
Check Under and Behind Furniture
Bedrooms and OfficesJenny’s laptop password is the most famous example of this pattern but it is not the only one. The game consistently hides sticky notes, slips of paper, and scratch marks in locations below or behind furniture. Click on the underside of desks, the back of picture frames, and the floor near windows whenever you are stuck on a password puzzle in a personal space.
Open Every Book and Notebook
Kitchens, Offices, ClassroomsDebbie’s computer password hidden in her recipe book is the most prominent example of this pattern. Several other passwords and phone numbers are written inside notebooks, textbooks, recipe books, and journals that are visible as clickable objects in rooms. If you see a book-shaped object on a counter, desk, or shelf and you are stuck, click it and check the inside cover and first few pages.
Watch Characters Enter Codes During Scenes
All LocationsSeveral codes in the game are revealed not by finding a written note but by watching a character enter the code on screen during a scene. The Principal’s office door code and the staff room keypad code both work this way. Pay close attention during scenes that show a character operating a keypad or lock because the game will show you the digits being entered if you watch the animation carefully.
Read Notice Boards and Posted Signs
Community Spaces and SchoolsThe community board, church bulletin board, and gym notice board all contain clickable posted signs and flyers that carry phone numbers and access codes. Several character phone numbers including Eve’s are only obtainable by clicking on flyers posted in community spaces rather than through direct character interaction. Always click notice boards in any new location you visit.
Pay Attention to Dialogue and Character Comments
All Character RoutesA significant number of codes and phone numbers are spoken aloud by characters during story dialogue rather than written anywhere in the environment. Erik’s laptop password and Coach Bridget’s gym storage code are both given verbally during conversations. If a character mentions a number during dialogue and you are near a locked item, try that number immediately. The game rarely makes these connections explicit so attentive listening is rewarded.
Click every surface in a room including floors, undersides of furniture, and backs of frames before deciding a code cannot be found in that location
Check your in-game phone’s saved contacts regularly as newly received phone numbers appear there automatically without a notification
Open all books and notebooks visible in any room you visit, especially in kitchens, offices, and classrooms where note-taking is a natural habit for characters
Re-enter rooms after story scenes because some notes and hidden items only become clickable after a specific scene in the associated route has played out
If a password is not working, the issue is almost always a missing prerequisite story scene rather than the wrong password. Progress the route further and try again
Phone Numbers and Passwords FAQ
Never Get Stuck on a
Password or Code Again
Pair this guide with the complete walkthrough to know exactly which story scenes to complete before each password becomes available, so you spend your time playing rather than searching.